hexo博客布置本地音乐播放器的方法
背景
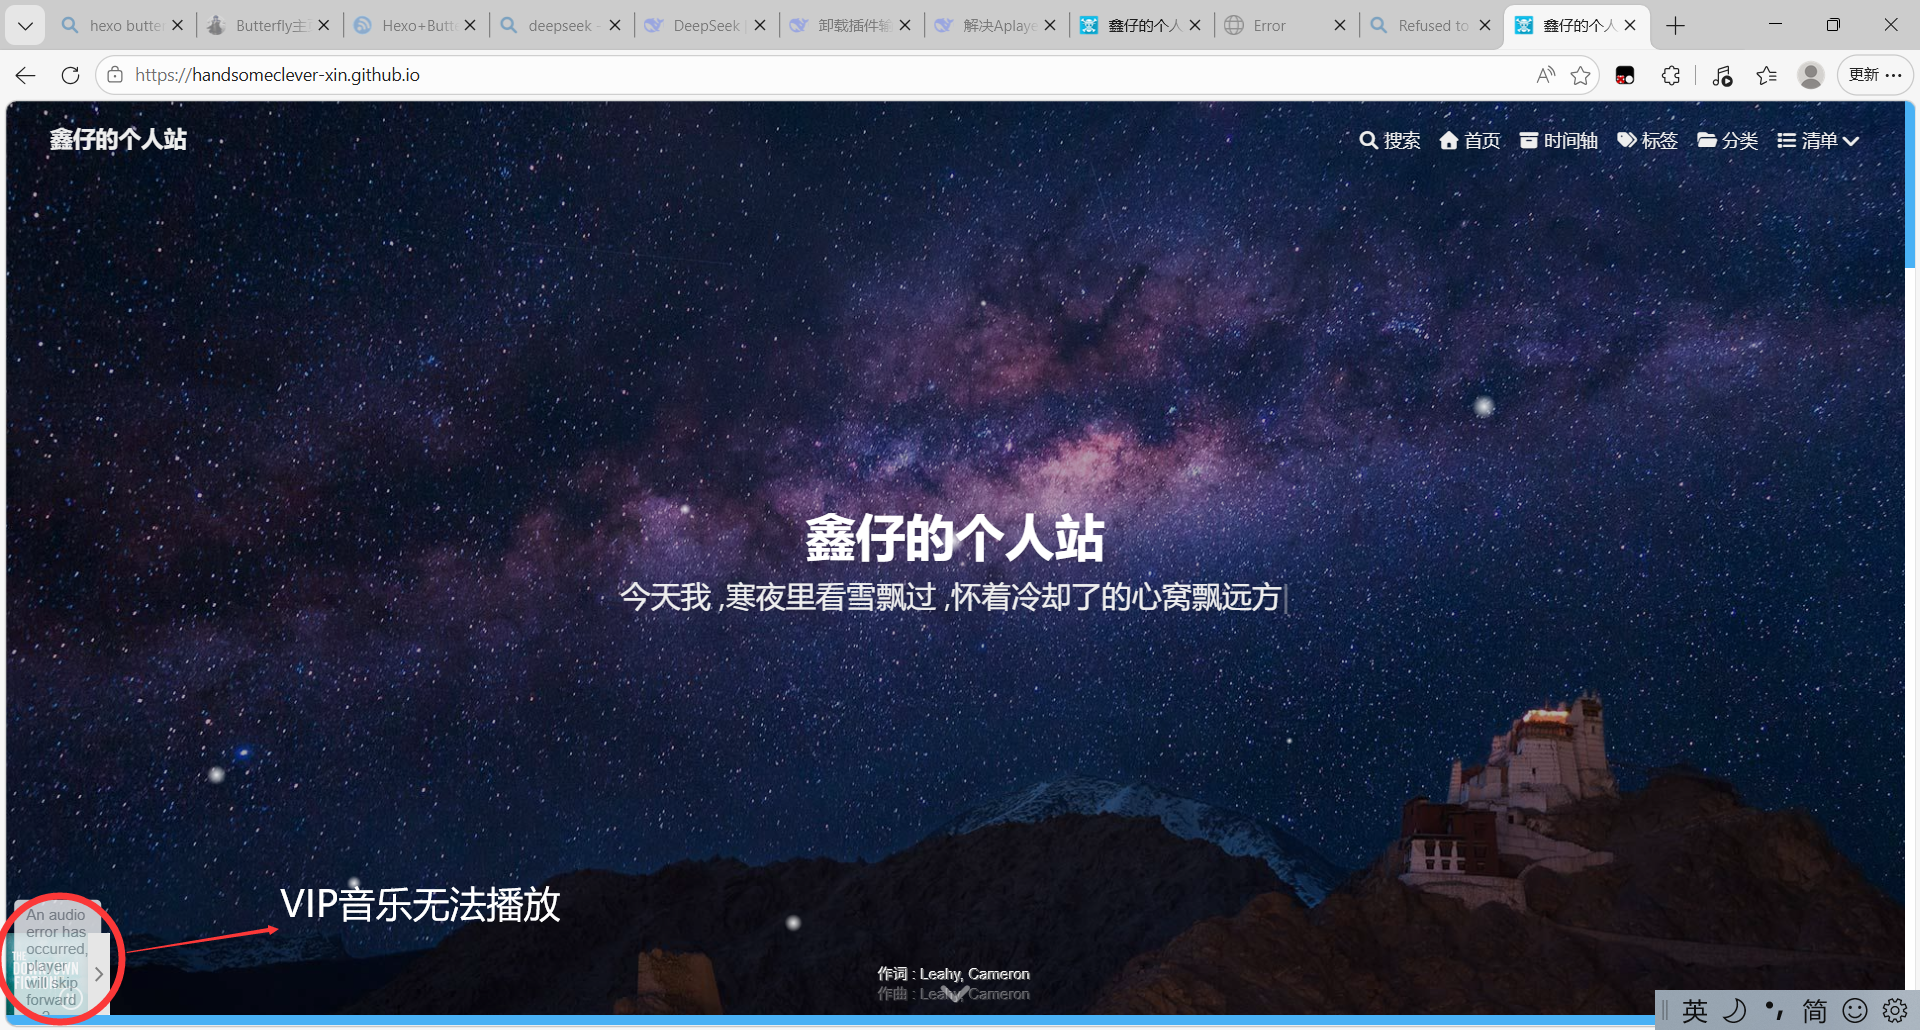
我的博客,原先通过hexo butterfly官方文档配置了全局吸底播放器,用的是网易云的API,挂了我的歌单,但是有几个痛点无法解决:
- VIP音乐无法播放
- 音质受到限制
- 播放器的播放完全受到网易云那边的限制,一旦API失效就无法使用
为此,我决心改造播放器,让其能够播放本地音乐歌单,这样子,我只要在本地存音乐就可以无限制播放,音质也有我自己决定。
思路
- 需要将自己喜欢的音乐从各大音乐平台下载下来,通过格式转码为通用格式放置在本地(后期可以放在云上),
- 写一个脚本
scripts\extract-metadata.js,读取每首歌曲文件中内嵌的封面 - 再写一个脚本
music-generator.js,扫描音乐文件,提取音乐文件中的歌曲名,作者,收集封面和歌词信息,生成一个总歌单文件 ’music-data.json‘,供前端播放器读取。 - 写一个
source\js\music-player.js脚本,实例化APlayer,渲染出带有封面、歌词、进度条的底部吸附播放器。
在此之前,我们必须先将之前配置好的音乐播放器删掉。
删除掉之前配置好的音乐播放器
在主题配置文件中
myBlog\themes\hexo-theme-butterfly-dev\_config.yml删除掉音乐播放器APlaer配置:1
2
3
4
5
6
7
8
9
10
11
12
13
14
15
16
17
18
19# APlayer 音乐配置
aplayer:
enable: true
# 关键点:把 meting 设为 false,不再使用在线歌单
meting: false
# 如果你之前是在这里填了网易云歌单 ID,把它注释掉或删掉
# meting_api:
# 现在我们把本地文件写死在 audio 列表里
audio:
- name: '歌曲名1'
artist: '歌手1'
url: '/music/歌曲文件名1.mp3' # 注意这里要和你的文件名完全对应
cover: '/img/cover1.jpg' # 封面图,如果没有可以删掉这行
- name: '歌曲名2'
artist: '歌手2'
url: '/music/歌曲文件名2.mp3'
- name: '歌曲名3'
artist: '歌手3'
url: '/music/歌曲文件名3.mp3'在主题配置文件
myBlog\themes\hexo-theme-butterfly-dev\_config.yml中删除掉inject注入的js配置:把这一块:
1
2
3
4
5
6
7
8
9
10
11
12# Inject
# Insert the code to head (before '</head>' tag) and the bottom (before '</body>' tag)
# 插入代码到头部 </head> 之前 和 底部 </body> 之前
inject:
head:
- <link rel="stylesheet" href="/css/style.css"> #注入了一个样式,样式文件在"/source/css/style.css"
- '<style type="text/css">#toggle-sidebar {bottom: 80px}</style>' #为音乐播放器留白
bottom:
# - <script src="xxxx"></script> #下面代码是注入了一个音乐播放器
- <div class="aplayer no-destroy" data-id="7012604021" data-server="netease" data-type="playlist" data-fixed="true" data-mini="true" data-listFolded="false" data-order="random" data-preload="none" data-autoplay="true" muted></div>
#7973959940,7012604021,tencent,netease
- <script src="/js/snow.js"></script> #插入雪花特效改为:
1
2
3
4
5
6
7inject:
head:
- <link rel="stylesheet" href="/css/style.css">
- '<style type="text/css">#toggle-sidebar {bottom: 80px}</style>'
bottom:
# 把原来那行 aplayer 的 div 删掉,只保留下面这行
- <script src="/js/snow.js"></script>在主题配置文件
myBlog\themes\hexo-theme-butterfly-dev\_config.yml中关掉’aplayerInject‘:1
2
3aplayerInject:
enable: true #改成false
per_page: true #false在主题配置文件中
myBlog\themes\hexo-theme-butterfly-dev\_config.yml降低pangu版本(旧版本更加兼容):1
2# 把原来的 pangu: https://cdn.jsdelivr.net/npm/pangu/dist/browser/pangu.min.js 替换成下面这行:
pangu: https://cdn.jsdelivr.net/npm/pangu@4.0.7/dist/browser/pangu.min.js在主题配置文件
myBlog\themes\hexo-theme-butterfly-dev\_config.yml中如果有这一行,则注销掉:1
2
3
4# aplayer
aplayer_css: https://cdn.jsdelivr.net/npm/aplayer/dist/APlayer.min.css
aplayer_js: https://cdn.jsdelivr.net/npm/aplayer/dist/APlayer.min.js
# meting_js: https://cdn.jsdelivr.net/gh/metowolf/MetingJS@1.2/dist/Meting.min.js <-- 前面加 #在博客站点的配置文件
myBlog\_config.yml中注释掉aplayer :1
2
3
4
5# aplayer:
# script_dir: js
# style_dir: css
# meting: false
# asset_inject: false确定主题文件的
myBlog\themes\hexo-theme-butterfly-dev\layout\includes\layout.pug,如果有有关metting的内容则要删掉:1
2
3
4
5
6head
include ./head.pug
link(rel="stylesheet" href="APlayer.min.css") // <-- 删掉这行
div(id="aplayer") // <-- 删掉这行
script(src="https://cdn.jsdelivr.net/npm/meting@2/dist/Meting.min.js" async) // <-- 删掉这行
body删除掉一些依赖插件:
在
myBlog文件夹中git bash here,在命令行运行:1
2npm uninstall hexo-tag-aplayer
npm uninstall hexo-aplayer运行下面代码确定插件已被成功删除:
1
npm ls hexo-tag-aplayer
确定主题文件
myBlog\source\music\index.md中是否有引用APlayer,如果有则删掉:1
3 | {% meting "8232291301" "tencent" "playlist" %} #删掉这个音乐标签
这样就将之前引入的APlayer彻底删干净了,接下来可以引入我们自己的本地播放APlayer了。
引入本地音乐的全局吸底播放器
创建脚本:
myblog\scripts\music-generator.js1
2
3
4
5
6
7
8
9
10
11
12
13
14
15
16
17
18
19
20
21
22
23
24
25
26
27
28
29
30
31
32
33
34
35
36
37
38
39
40
41
42
43
44
45
46
47
48
49
50
51
52
53
54
55
56
57
58
59
60
61
62
63
64
65
66
67
68
69
70
71
72
73
74
75
76
77
78const fs = require('fs');
const path = require('path');
hexo.extend.filter.register('after_generate', function () {
const rootMusicDir = path.join(hexo.base_dir, 'music');
const mp3Dir = path.join(rootMusicDir, 'mp3');
const coverDir = path.join(rootMusicDir, 'cover');
const lrcDir = path.join(rootMusicDir, 'lrc');
const publicMusicDir = path.join(hexo.public_dir, 'music');
const publicMp3Dir = path.join(publicMusicDir, 'mp3');
const publicCoverDir = path.join(publicMusicDir, 'cover');
const publicLrcDir = path.join(publicMusicDir, 'lrc');
if (!fs.existsSync(mp3Dir)) {
console.log('\n[Music Generator] 警告:没有找到 music/mp3 文件夹!');
return;
}
[publicMusicDir, publicMp3Dir, publicCoverDir, publicLrcDir].forEach(dir => {
if (!fs.existsSync(dir)) fs.mkdirSync(dir, { recursive: true });
});
const files = fs.readdirSync(mp3Dir);
const audioList = [];
files.forEach(file => {
if (path.extname(file).toLowerCase() !== '.mp3') return;
const basename = path.basename(file, '.mp3');
let name = basename;
let artist = '未知歌手';
if (basename.includes(' - ')) {
const parts = basename.split(' - ');
artist = parts[0].trim();
name = parts.slice(1).join(' - ').trim();
}
// 封面(支持 jpg / jpeg / png / webp)
let coverPath = '';
for (const ext of ['.jpg', '.jpeg', '.png', '.webp']) {
const candidate = path.join(coverDir, basename + ext);
if (fs.existsSync(candidate)) {
fs.copyFileSync(candidate, path.join(publicCoverDir, basename + ext));
coverPath = '/music/cover/' + encodeURIComponent(basename) + ext;
break;
}
}
// 歌词
let lrcPath = '';
const lrcFile = path.join(lrcDir, basename + '.lrc');
if (fs.existsSync(lrcFile)) {
fs.copyFileSync(lrcFile, path.join(publicLrcDir, basename + '.lrc'));
lrcPath = '/music/lrc/' + encodeURIComponent(basename) + '.lrc';
}
fs.copyFileSync(path.join(mp3Dir, file), path.join(publicMp3Dir, file));
audioList.push({
name: name,
artist: artist,
url: '/music/mp3/' + encodeURIComponent(file),
cover: coverPath,
lrc: lrcPath
});
});
fs.writeFileSync(
path.join(publicMusicDir, 'music-data.json'),
JSON.stringify(audioList, null, 2),
'utf-8'
);
const withCover = audioList.filter(s => s.cover).length;
const withLrc = audioList.filter(s => s.lrc).length;
console.log(`\n[Music Generator] 共 ${audioList.length} 首歌,其中 ${withCover} 首有封面,${withLrc} 首有歌词。`);
});
创建
myblog\source\js\music-player.js:1
2
3
4
5
6
7
8
9
10
11
12
13
14
15
16
17
18
19
20
21
22
23
24
25
26
27
28
29
30
31
32
33
34
35
36
37
38
39
40
41
42
43
44
45
46
47
48
49
50
51
52
53
54function initAPlayer() {
// 核心防重启逻辑:只要 window.ap 存在,绝对不重新创建
if (window.ap) return;
var container = document.getElementById('aplayer-global');
if (!container) {
container = document.createElement('div');
container.id = 'aplayer-global';
container.className = 'aplayer no-destroy';
document.body.appendChild(container);
}
fetch('/music/music-data.json')
.then(response => response.json())
.then(audioList => {
window.ap = new APlayer({
container: container,
fixed: true,
mini: true,
autoplay: false,
theme: '#FADFA3',
loop: 'all',
order: 'random',
preload: 'metadata',
volume: 0.7,
audio: audioList
});
console.log("播放器加载成功,共" + audioList.length + "首歌");
})
.catch(error => {
console.error('加载音乐列表失败:', error);
});
}
// 首次加载
document.addEventListener('DOMContentLoaded', function () {
initAPlayer();
});
// Pjax 切换页面时
document.addEventListener('pjax:complete', function () {
// 只要 window.ap 还在,音乐就不会断,什么都不做!
// 只有当容器真的被误删时,才补一个容器回去,但不重新创建实例。
if (!window.ap) {
initAPlayer();
} else if (!document.getElementById('aplayer-global')) {
// 极端情况:Pjax 把容器弄丢了,我们用 JS 把它塞回 body 末尾
var container = document.createElement('div');
container.id = 'aplayer-global';
container.className = 'aplayer no-destroy';
document.body.appendChild(container);
// 此时 window.ap 还在播放,我们不再初始化,让容器跟实体重新关联即可
}
});
在butterfly主题inject该播放器,同时加上缺失的 CSS,方法是在主题配置文件中修改inject:
1
2
3
4
5
6
7
8
9
10
11
12
13
14
15
16
17
18
19
20# Inject
# Insert the code to head (before '</head>' tag) and the bottom (before '</body>' tag)
# 插入代码到头部 </head> 之前 和 底部 </body> 之前
inject:
head:
#注入了一个样式,样式文件在"/source/css/style.css"
- <link rel="stylesheet" href="/css/style.css">
#为音乐播放器留白
- '<style type="text/css">#toggle-sidebar {bottom: 80px}</style>'
# 自制播放器,新增这一行:引入 APlayer 的 CSS
- '<link rel="stylesheet" href="https://cdn.jsdelivr.net/npm/aplayer/dist/APlayer.min.css">'
bottom:
# - <script src="xxxx"></script> #下面代码是注入了一个音乐播放器
#- <div class="aplayer no-destroy" data-id="7012604021" data-server="netease" data-type="playlist" data-fixed="true" data-mini="true" data-listFolded="false" data-order="random" data-preload="none" data-autoplay="true" muted></div>
#7973959940,7012604021,tencent,netease
- <script src="/js/snow.js"></script> #插入雪花特效
#########先不用网易云API,设置一个自定义本地曲库播放器
- '<div id="aplayer-global" class="aplayer no-destroy"></div>' # 必须先引入 APlayer 的库
- '<script src="https://cdn.jsdelivr.net/npm/aplayer/dist/APlayer.min.js"></script>' # 然后引入我们自定义的初始化脚本
- <script src="/js/music-player.js"></script>
创建脚本:
scripts\extract-metadata.js(之后提取每首mp3的封面,歌词(如果有的话))1
2
3
4
5
6
7
8
9
10
11
12
13
14
15
16
17
18
19
20
21
22
23
24
25
26
27
28
29
30
31
32
33
34
35
36
37
38
39
40
41
42
43
44
45
46
47
48
49
50
51
52
53
54
55
56
57
58
59
60
61
62
63
64
65
66
67
68
69
70
71
72
73
74
75
76
77
78const fs = require('fs');
const path = require('path');
// 路径配置
const baseDir = path.join(__dirname, '..');
const mp3Dir = path.join(baseDir, 'music', 'mp3');
const coverDir = path.join(baseDir, 'music', 'cover');
const lrcDir = path.join(baseDir, 'music', 'lrc');
if (!fs.existsSync(coverDir)) fs.mkdirSync(coverDir, { recursive: true });
if (!fs.existsSync(lrcDir)) fs.mkdirSync(lrcDir, { recursive: true });
async function extractAll() {
// 动态导入 ESM 模块
const mm = await import('music-metadata');
// 兼容不同的导出方式
const parseFile = mm.parseFile || (mm.default && mm.default.parseFile);
if (!parseFile) {
console.error('无法找到 parseFile 方法,请检查 music-metadata 版本');
return;
}
if (!fs.existsSync(mp3Dir)) {
console.log("⚠️ 找不到 music/mp3 文件夹,请检查路径!");
return;
}
const files = fs.readdirSync(mp3Dir).filter(f => f.toLowerCase().endsWith('.mp3'));
console.log(`\n开始扫描 ${files.length} 首歌曲...`);
let coverCount = 0;
let lrcCount = 0;
for (const file of files) {
const filePath = path.join(mp3Dir, file);
const basename = path.basename(file, '.mp3');
try {
const metadata = await parseFile(filePath);
const common = metadata.common;
// 提取封面
if (common.picture && common.picture.length > 0) {
const pic = common.picture[0];
const ext = pic.format.includes('png') ? 'png' : 'jpg';
const coverPath = path.join(coverDir, `${basename}.${ext}`);
if (!fs.existsSync(coverPath)) {
fs.writeFileSync(coverPath, pic.data);
coverCount++;
console.log(` 🖼️ 提取封面: ${basename}.${ext}`);
}
}
// 提取歌词
if (common.lyrics && common.lyrics.length > 0) {
const lyricObj = common.lyrics.find(l => l.text && l.text.trim() !== '');
if (lyricObj && lyricObj.text) {
const lrcPath = path.join(lrcDir, `${basename}.lrc`);
if (!fs.existsSync(lrcPath)) {
fs.writeFileSync(lrcPath, lyricObj.text, 'utf-8');
lrcCount++;
console.log(` 📝 提取歌词: ${basename}.lrc`);
}
}
}
} catch (err) {
console.error(` ❌ 处理失败: ${file} - ${err.message}`);
}
}
console.log(`\n✅ 提取完成!共提取了 ${coverCount} 张封面,${lrcCount} 份歌词。`);
console.log("现在请运行 hexo clean && hexo g && hexo s 来更新播放器。\n");
}
// 只在手动运行 node 时执行,Hexo 加载时自动跳过
if (typeof hexo === 'undefined' && require.main === module) {
extractAll();
}
用法:
[ ] 首先需要先在终端安装插件:
1
npm install music-metadata --save
[ ] 在之后有歌曲之后可以在终端运行脚本提取歌曲信息:
1
node scripts/extract-metadata.js
添加歌曲
- 建立文件夹
myBlog\music\mp3 - 将你喜欢的歌从各大音乐软件(网易云,QQ音乐……)下载下来,那之后用UnlockMusic解析,将你喜欢的歌曲放入文件夹中
运行
在终端运行以下命令:
1 | node scripts/extract-metadata.js |
后记
目前这样做完之后有两个问题需要被解决:
- MP3文件中没有歌词,这样设置的音乐播放器无法显示歌词(可能可以用MusicTag软件将歌词嵌入mp3文件中再运行
extract-metadata.js - 会失去原来的音乐页面(虽然本来也名存实亡)
音乐界面恢复
在myBlog\source\music\index.md里面添加以下html代码
1 | --- |
Enjoy your music !